The cases are blasted, painted and cleaned.
All threads are cleaned and if they are bad I will insert a Helicoil.
I like everything to be squeaky clean.
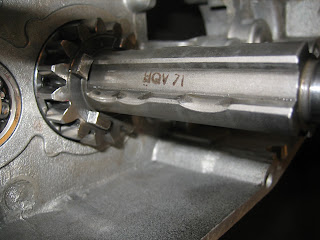
When I ordered gaskets for a Husky CR 250 the cylinder base gasket was way too small, Husqvarna must have changed the distance between the cylinder stay bolts at some time. My engine has for some reason no numbers on it so I don't know what year it is from.
New seals for the entire engine.
And bearings.
And gaskets..
First I put the main bearing cover in place so the main bearing can't be pushed too far out.
Then I degrease the outside of the main bearing.
I put a thin layer of Loctite 641 on the main bearings because when I dissembled the engine the bearing did not stay in the cases but came out with the crank and was a pain to get off.
A little heat on the cases is always a good idea,
Fitting of main bearing.
Voila. One main bearing in place.
Lay shaft and main shaft bearings also fitted.
I put the cover in place on this side also to get the bearing in the right place,
Bearings fitted.
Seal installed.
No detectable play in the rod so I will not replace it.
Hard to read, and I am not sure but I believe it says" HQV0272" which means 1972 model crank.
Motoplat ingintion flywheel.
Contact area lapped in.
Someone has marked the rod "111"
Crank almost ready for installation, remember to put the small washer on the right side shaft in place.
But first I put a thin layer of oil on the entire crank, wrap it in plastic and into freezer.
And then with help of the installation tool it just slides in place, nice.
Cool.
As the crank warms up there will be some condensation of water on it, I just wipe it off and make sure it is protected by oil at all times.


