Tuesday, December 6, 2011

Prefab

This time around I am going to assemble the bike before I get the frame paint to avoid any last minute surprises.

Engine, swingarm and rear shocks assembled.

Seat pan and tank mounted. 
Tank is 1970 CR model, NOS but unpainted. Love the look of this tank, the 1970 model is the only one with filler to the right and the high profile. 1971 got the gas cap in the center, and 1969 tank has a lower and wider profile. Rumor has it that it was Bengt Ã…berg who criticized the tank with the filler to the right because it happened that he accidentally opened it with his right knee during a race.

Nex mixtape for garage nights (mixed by my brother).


Fremdtunes invited Swedish DJ Devastate (BBE Records) to do a mix for Wax Poetics and to celebrate the release OptiMace’s “The Future Is Not What It Used to Be – Part 1,” a brand new 7-inch out on November 24 2011 with remixes by Big Mister Doom, KRSUR, and Illy Symphony.
Mellow Madness, Vol. 2 is a mix full of laid back music inspired by the Fremdtunes sound. The mix is compiled and mixed by DJ Devastate. Devastate is a producer/DJ from South Sweden. His jazzy instrumental debut album Movement/Silence was released on BBE recordings early 2010. Devastate also released a track on label sampler Fremdtunes – The Series 2 and is currently working on a brand new instrumental solo album and a production album with his crew Elite Fleet.


Fremdtunes is a Dutch independent recordlabel/collective, mainly focussing on (instrumental) producer-based music and worked/works with artists like DJ Optimus, Kelpe, Coco Bryce, Kid Sundance, Mister Adam, Soosh, Mister Critical, Boulaone, Jameszoo, El da Sensei, Erwin Vann, Pierce Warnecke, Superelectric, Prince Po, Klaas Verplancke, Solo Moderna, DJ Grazzhoppa, Gumshoe, and many others.


DIRECT DOWNLOAD (MEDIAFIRE)

Monday, December 5, 2011

Zinkplating

Spokes, bolts, nuts and miscellaneous stuff back from zinkplating. Once you get used to rebuilding bikes with replated bits you can't go back. Its cheap and the finish is like new.

The zinkplating plant, Galvanoverk Landskrona.


Thursday, November 24, 2011

Frame modification

The patient is on the operating table.

I welded most of the drilled holes in the frame, added missing frame tubing, welded some cracks.

Fixed a broken foot peg bracket, and fitted a later model for better grip.

The swingarm shaft and bushings were totally worn out and poorly repaired. I discarded the shaft, cut away the brackets and pressed out the old bushings.

Old bushing

Time to start up the old lathe.


New shaft and bushings fabricated.

I made the new bushing longer to ensure there would be a larger area for the new shaft to rest on.

The new bushings pressed into the frame.

Fixing of the new brackets.

Swingarm absolutely free of play, nice.

Not so nice...

Time to turn up the heat.

Tuesday, November 1, 2011

Merde!

Since my cylinder was bored out beyond original limit 70.18mm I had a hard time finding a piston, eventually I found a 71.00mm Italian GPM piston NOS.

Ok, time to take my new piston and cylinder to the engine workshop to get the cylinder bored and matched  or is it...

Hey wait a minute, what is that fine line coming from the exhaust.

Yes, the cylinder liner is cracked...
Time to start looking for a new sleeve, and another piston.
Damn it.

Tuesday, October 4, 2011

Easy day at the workshop.

Gear selector cover with new gasket and screws.

Step feeder mechanisim


New seal, gasket and hardware for drive shaft cover.

Crankshaft cover gets the same treatment.

Done, as pictured all hardware has been replaced with modern allen head screws. I am saving all original   
screws so if I change my mind I can get back to original.

Monday, October 3, 2011

Husqvarna CR 250 engine rebuild part 2 transmission

Ratchet segment and spring fitted.

Auxiliary shaft is 1971 model and looks almost NOS.

Gear marked 1972

Gear marked 1970.

Main shaft, aux shaft and gear changing mechanism fitted.

Bearing sleeve and needle bearing.

Don't forget the guide pins.


I put some grease in the bearings to help the shafts enter.

I use Loctite blue engine silicone on the centre gasket.

Matching numbers on the cases, but other than this there are no numbers on this engine, and the internals ix a mix of 1970,71 and 1972 parts.

Sunday, October 2, 2011

Husqvarna CR 250 engine rebuild part 1 Bearings and crank


The cases are blasted, painted and cleaned.

All threads are cleaned and if they are bad I will insert a Helicoil.


I like everything to be squeaky clean.

When I ordered gaskets for a Husky CR 250 the cylinder base gasket was way too small, Husqvarna must have changed the distance between the cylinder stay bolts at some time. My engine has for some reason no numbers on it so I don't know what year it is from.

New seals for the entire engine.

And bearings.

And gaskets..

First I put the main bearing cover in place so the main bearing can't be pushed too far out.

Then I degrease the outside of the main bearing. 

I put a thin layer of Loctite 641 on the main bearings because when I dissembled the engine the bearing did not stay in the cases but came out with the crank and was a pain to get off.

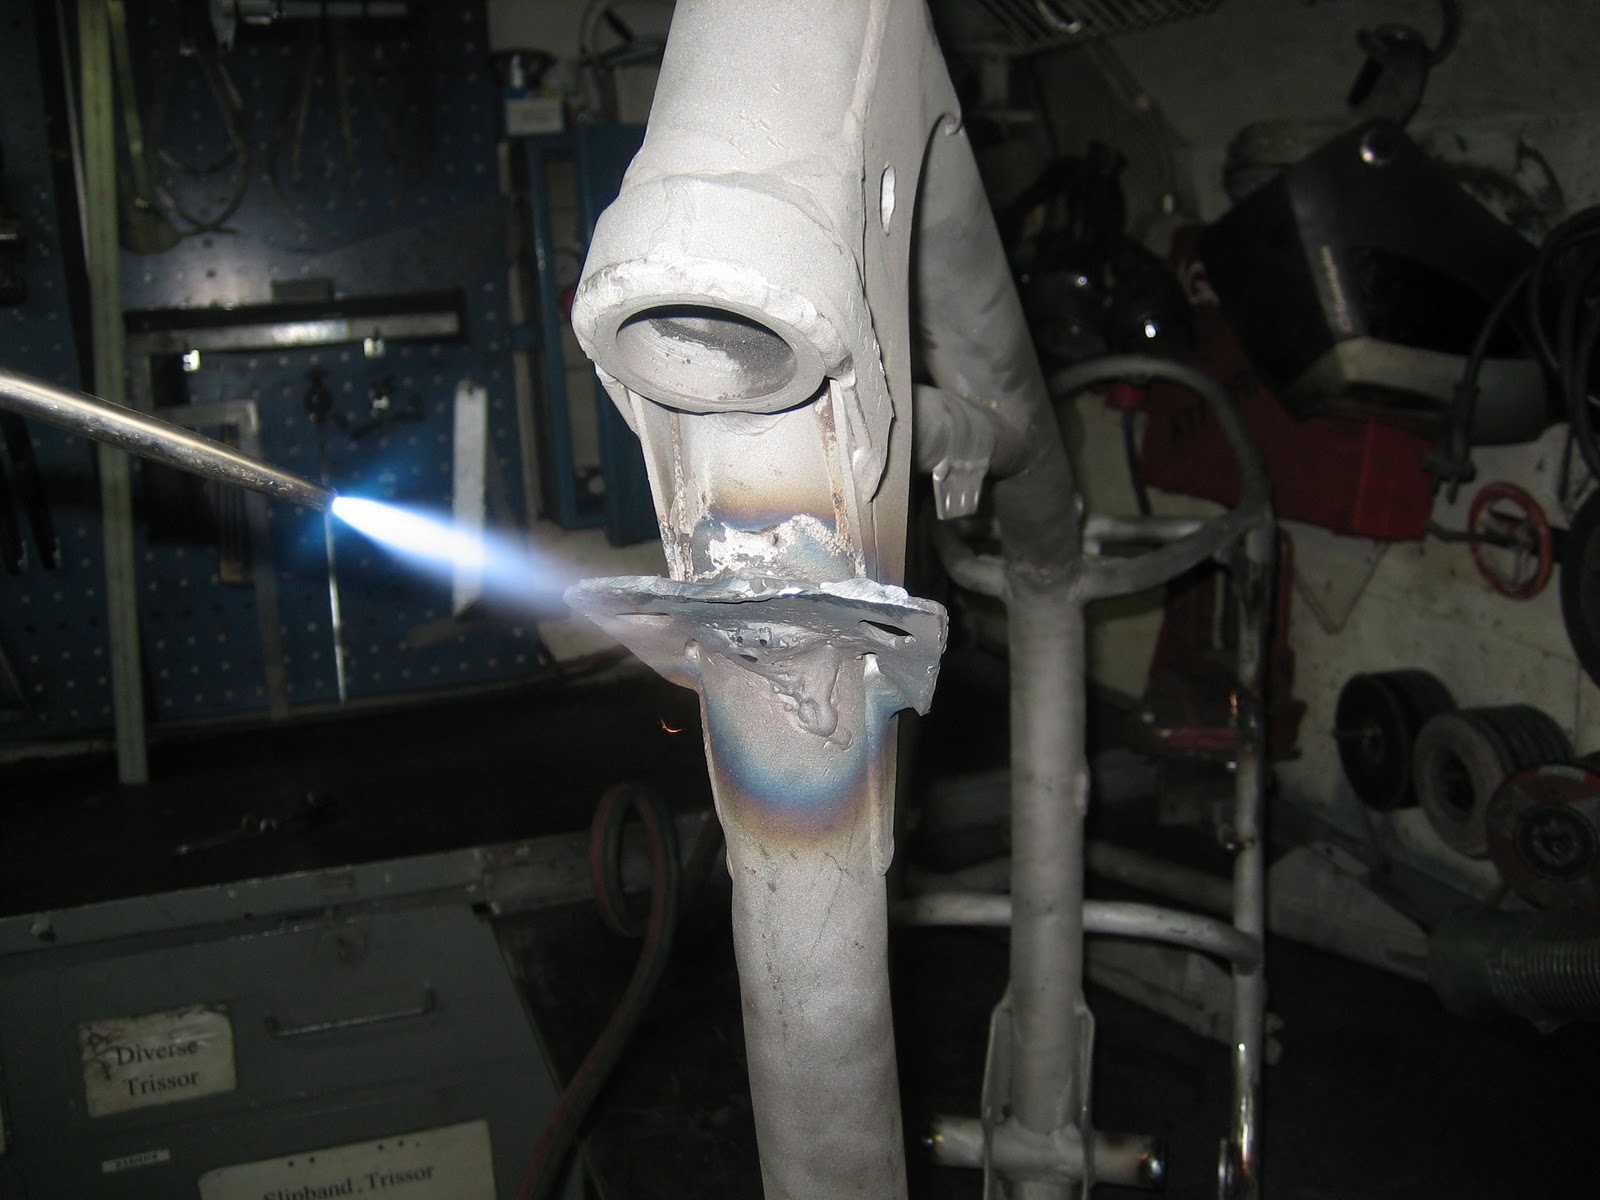
A little heat on the cases is always a good idea,

Fitting of main bearing.

Voila. One main bearing in place.


Lay shaft and main shaft bearings also fitted.

I put the cover in place on this side also to get the bearing in the right place,

Bearings fitted.

Seal installed.

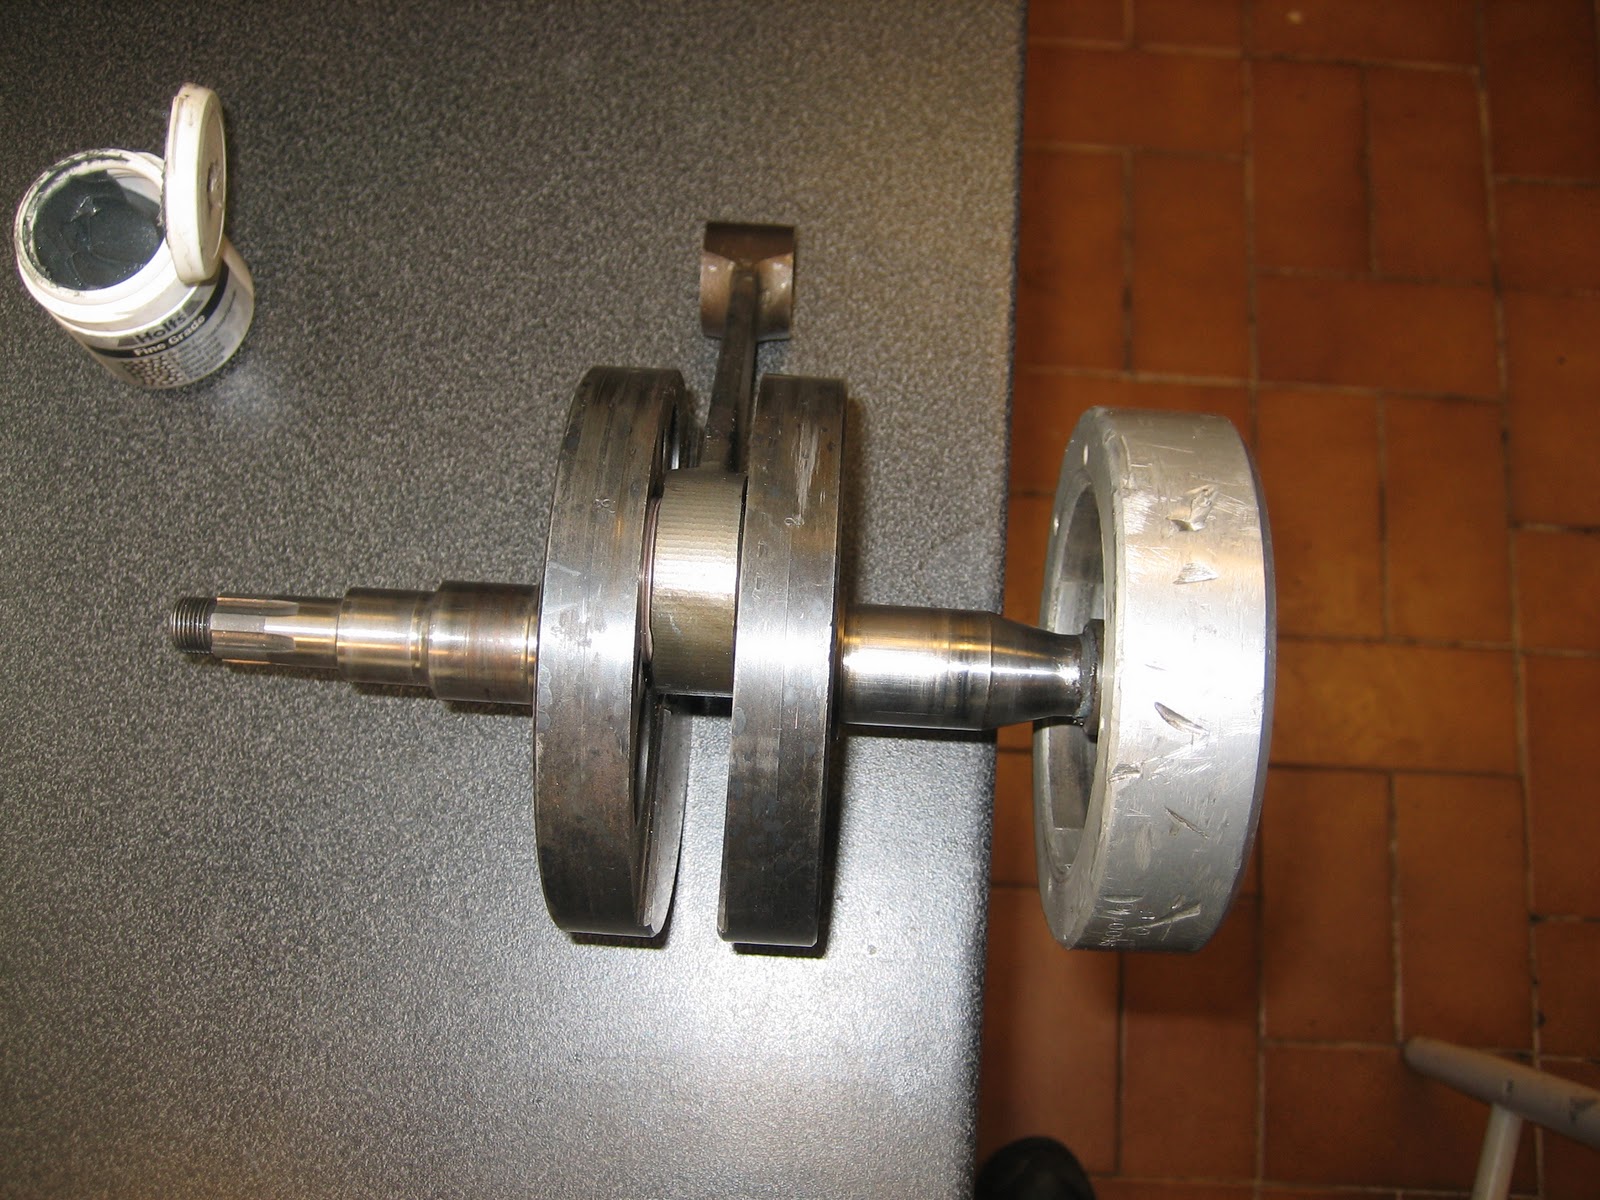
No detectable play in the rod so I will not replace it.

Hard to read, and I am not sure but I believe it says" HQV0272" which means 1972 model crank.

Motoplat ingintion flywheel.


Contact area lapped in.

Someone has marked the rod "111"

Crank almost ready for installation, remember to put the small washer on the right side shaft in place.

But first I put a thin layer of oil on the entire crank, wrap it in plastic and into freezer.

And then with help of the installation tool it just slides in place, nice.

Cool.

As the crank warms up there will be some condensation of water on it, I just wipe it off and make sure it is protected by oil at all times.